Last updated on February 27th, 2021 at 12:00 pm
In this tutorial, I will explain to you how we can install NodeJs and NPM on the Ubuntu server using simple steps. Node.Js is an open-source cross-platform lightweight framework to executes JavaScript code outside a web browser. NodeJs is a run-time environment that includes everything you need to execute a program written in JavaScript on the server.
NPM stands for Node Package Manager, You can install modules from NPM in your Node project.
Steps to install Node.js in Ubuntu Server
Step 1. Login to your server using the terminal.
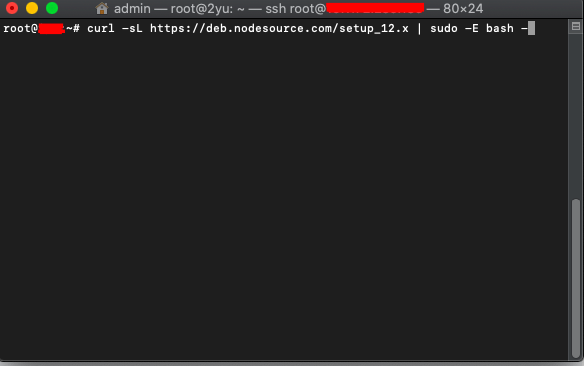
Step 2. Run the below command to download node.js to install in your server.
curl -fsSL https://deb.nodesource.com/setup_14.x | sudo -E bash -

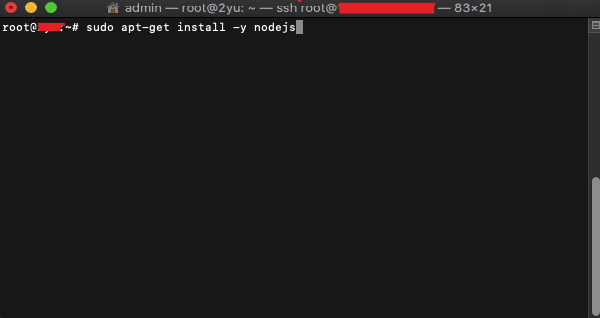
Step 3. Once the download is complete we can now install the node.js
sudo apt-get install -y nodejs

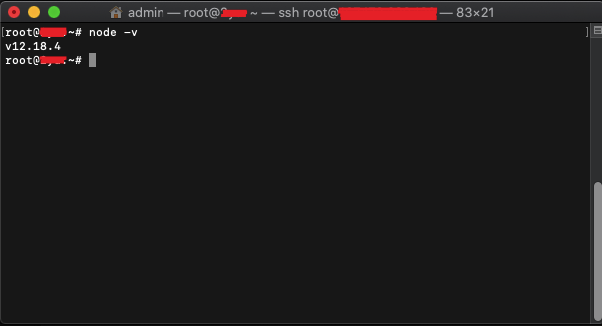
Step 4. Once the installation is complete you can verify by running this command
node -v

If the installation is done successfully you will get your node version as shown in the above image.
Basic usage of a Node.js
NodeJs is a framework that means it not work like other frameworks. Instead, it interprets commands that you write. To test your new Node.js installation, create a Hello World script.
Step 1. Create a folder in your server (/var/www/html/my_node_project).
Step 2. Create a new file server.js and open the file with a code editor and paste the below code in that file.
var http = require('http');
 http.createServer(function (req, res) {
   res.writeHead(200, {'Content-Type': 'text/html'});
   res.end('Hello World!');
 }).listen(8080);
save the file to the server. Now we need to allow the port to run this code run ufw allow 8080.
Step 3. Run file server.js file in terminal.
node /var/www/html/my_node_project/server.js
Step 4. Open the browser and type your server IP or localhost with port 8080
http://localhost:8080
If you see Hello World! written on your browser your server is working properly. You can close your server open the terminal and press ctrl+c.
Hope you like this post.
