Z.ai ZCode IDE: GLM Coding Workspace Setup Guide (2026)

Aneh Thakur
·11 min read
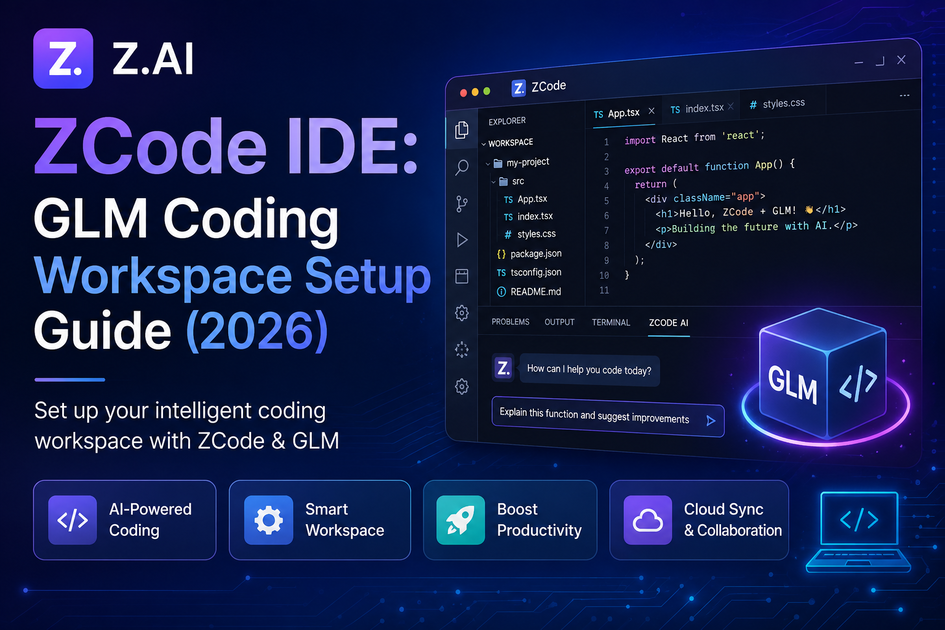
ZCode is the official desktop IDE from Z.ai for coding with GLM models. Instead of copying API responses between a browser tab and your editor, ZCode gives you one workspace: repository context, long-running agent tasks, and optional BYOK (bring your own key) so you keep control of billing and inference providers.
This guide covers what ZCode is, how it compares to Cursor for daily development, installation on Windows/macOS/Linux, BYOK setup, and five practical agent workflows you can run today — landing pages, automation scripts, and portfolio projects.
Author: Aneh Thakur · Last updated: 2026-07-07
What you'll learn
What ZCode is and how it fits the GLM ecosystem
How ZCode differs from API-only GLM access and from Cursor
Install steps for Windows, macOS, and Linux
BYOK configuration — connect existing API keys without vendor lock-in
Agent workflow patterns: prototype, automation, SEO landing page, student project
Security practices when running repo-wide AI agents
When to use ZCode vs Cursor vs plain API scripts
Prerequisites
A Z.ai account or compatible GLM API access (for BYOK)
Windows 10+, macOS 12+, or a modern Linux desktop
Node.js 18+ if your workflows generate JavaScript/TypeScript projects
Git installed for cloning generated prototypes
Optional: existing GLM coding plan (some plans include bonus ZCode usage)
What is ZCode?
ZCode is a desktop application — not a browser plugin — built around GLM coding models. Key capabilities:
Feature | What it means for developers |
|---|---|
Repo-wide context | The agent sees your project tree, not just the active file |
Long-running tasks | Multi-step builds that used to need manual check-ins |
Native agent mode | Plan → act inside one tool instead of copy-paste loops |
Cross-platform | Windows, macOS, Linux builds from the same vendor |
BYOK | Plug in your own API keys and inference subscriptions |
Until ZCode, many teams used GLM through raw APIs or third-party wrappers — fine for one-off completions, painful for multi-file refactors or scaffold-and-iterate loops. ZCode targets that gap.
ZCode vs Cursor vs API-only GLM
Tool | Best for | Weak spot |
|---|---|---|
ZCode | GLM-native agent workflows, BYOK, all-in-one GLM shop | Smaller extension/plugin ecosystem than Cursor |
Cursor | Daily IDE with rules, MCP, multi-model choice | You configure MCP/rules yourself for team standards |
GLM API only | Custom pipelines, CI bots, headless automation | No integrated repo UI or agent UX |
Many developers will use Cursor as the daily driver and experiment with ZCode when GLM-specific agent behavior or pricing fits a project. They are not mutually exclusive — compare output quality on the same task before committing a team workflow.
If you already use Cursor rules and MCP, bring those standards (validation, secret handling, small diffs) into ZCode prompts even though ZCode does not read .cursor/rules/ files.
Step 1 — Install ZCode
1. Download the installer for your OS from the official Z.ai product page. 2. Run the installer and sign in with your Z.ai account. 3. On first launch, choose workspace folder — open your git repository root, not a subfolder. 4. Confirm the agent panel loads and shows model / key settings.
Linux tip: If the app does not appear in your application menu, run the binary from the extracted AppImage or .deb package and pin it manually.
macOS tip: If Gatekeeper blocks the app, use *System Settings → Privacy & Security → Open Anyway* after verifying the download source.
Step 2 — Configure BYOK (bring your own key)
BYOK lets you connect existing API keys instead of buying a separate inference plan just for ZCode.
Typical setup:
1. Open Settings → API / Models (exact label may vary by version). 2. Paste your GLM or compatible provider API key. 3. Select default model tier (coding vs general). 4. Run a smoke test prompt: *"List files in this repo and summarize package.json dependencies."*
Security rules:
Never commit API keys into the repository ZCode indexes.
Use environment variables or the app's secure key storage — not plaintext notes in the repo.
Rotate keys if you shared a screen recording during setup.
Prefer read-only tokens for exploration branches.
Step 3 — Open a repository with full context
ZCode's advantage over chat-only tools is whole-repo awareness. To use it well:
my-saas/
├── apps/web/          ← open parent `my-saas`, not only apps/web
├── packages/ui/
├── docs/
└── package.json
Open the monorepo root so the agent can navigate shared packages. Add a short AGENTS.md or README.md at the root describing stack and banned patterns — ZCode does not read Cursor .mdc files, but project docs still steer the model.
Step 4 — Workflow: SEO landing page prototype
Use this when you need a marketing page with copy structure and a working static scaffold.
Prompt template:
You are a senior front-end developer. In this repo:
1. Propose a single-page layout for a developer tool landing page (hero, features, FAQ, CTA).
2. Use semantic HTML + minimal CSS (or Next.js if the repo already uses it).
3. Include meta title, description, and one primary keyword in the hero.
4. Create files under ./prototype/landing/ only — do not modify production src/.
5. List assumptions before generating files.
Review checklist before merging:
No invented CDN scripts from untrusted domains
Forms do not POST to unknown endpoints
Copy is original, not pasted from competitors
robots / canonical tags match your real domain
Step 5 — Workflow: client automation builder
Agency and freelance developers can turn requirements into scripts + SOP docs:
Prompt template:
Act as an automation consultant. Read REQUIREMENTS.md in the repo root.
Output:
1. A numbered SOP (max 15 steps) for the automation.
2. A folder automation/ with Node.js scripts using only stdlib + fetch.
3. A .env.example listing required secrets (no real values).
4. A test plan with 3 manual verification steps.
Do not call external APIs until I approve the plan.
Start with plan-only mode — approve the SOP before letting the agent write network code.
Step 6 — Workflow: student portfolio project
Students can convert assignments into portfolio-ready repos:
Prompt template:
Explain the assignment in ASSIGNMENT.md like I'm new to programming.
Then scaffold a small project:
- One README with problem statement and how to run
- Clean folder structure
- One feature demo with tests
Target: something I can link from a portfolio in 2 hours of work.
Verify you understand every file before publishing to GitHub — recruiters may ask you to walk through the code live.
Step 7 — Workflow: content-to-product pipeline
Creators building lead magnets (checklist + landing page + email capture):
Prompt template:
From CONTENT.md (blog outline), generate:
1. A static landing page matching the outline's CTA
2. A simple waitlist form UI (no backend — mock submit handler)
3. A checklist PDF outline as markdown
Keep everything under ./campaign/july/ and use accessible HTML (labels, focus states).
Swap the mock form handler for your real ESP (ConvertKit, Mailchimp, etc.) before going live.
Step 8 — Long-running agent tasks
ZCode advertises support for tasks that run longer than a single completion. Practical tips:
Practice | Why |
|---|---|
Commit before starting | Easy rollback if the agent drifts |
Scope to one directory | Limits blast radius |
Ask for a plan first | Catch wrong assumptions early |
Set file allow-lists in the prompt | "Only edit files under prototype/" |
Review diffs file-by-file | Do not bulk-accept binary or lockfile changes |
If a task runs more than 10–15 minutes unattended, check in — long agents can loop on test failures.
Security and compliance
Repo-wide agents are powerful and risky:
Secrets: scan staged files for API keys before commit; use gitleaks or git-secrets.
Dependencies: review new package.json entries — agents love adding packages.
Licenses: confirm generated code does not paste GPL snippets into proprietary repos.
Client data: do not open folders containing PII or production database dumps.
Treat ZCode like a junior developer with shell access — capable, fast, needs review.
Step 9 — Git workflow for agent-generated code
Never let an agent push directly to main. Use a branch-per-task flow:
# tested on: 2026-07-07
git checkout -b feat/zcode-landing-prototype
# run ZCode agent task scoped to ./prototype/
git status
git diff --stat
git add prototype/
git commit -m "feat: add landing prototype from ZCode agent"
Review diff checklist:
File type | What to check |
|---|---|
package.json | New dependencies justified? Versions pinned? |
.env* | No real secrets committed? |
*.html / *.tsx | External scripts from trusted domains only? |
Lockfiles | Diff size reasonable — not a full regen without reason |
Open a pull request even for solo projects — the PR description forces you to summarize what the agent changed.
Step 10 — Model selection and cost control
BYOK means you pay per token. Control spend:
1. Scope prompts — smaller tasks cost less than "rewrite entire app." 2. Plan-first mode — ask for an outline before file generation. 3. Reuse context — keep one workspace per feature branch instead of new chats per file. 4. Compare models — run the same bugfix prompt on a smaller model first; escalate only if tests fail. 5. Set billing alerts in your provider dashboard before marathon agent sessions.
Document token-heavy workflows in your team wiki so juniors do not burn budget on exploratory prompts.
Step 11 — Teacher and internal-tools use cases
Beyond client work, ZCode fits internal tooling:
Interactive lesson demo
Create a single-file HTML demo that teaches HTTP status codes.
Requirements: 5 buttons (200, 301, 404, 500, 503), a response panel, keyboard accessible.
No external JS CDNs — inline CSS and vanilla JS only.
Output to ./demos/http-status/ .
Internal runbook generator
Read docs/oncall-playbook.md and generate a CLI checklist script
that prints steps for "database failover" and "rollback deploy".
Use Node.js. No network calls.
These stay inside your org — still review for accuracy before trainers use them in classrooms.
When ZCode is the wrong tool
Situation | Better choice |
|---|---|
Regulated production deploys | CI/CD pipeline with human approval gates |
Large team with strict Cursor rules + MCP | Stay on Cursor for shared .cursor/rules/ |
One-line fix in a known file | Manual edit or inline completion |
Headless batch refactors across 50 repos | Custom script + API, not a GUI agent |
Real-time pair programming | Human review beats unattended agents |
Choosing the right tool matters more than chasing every new IDE announcement.
Evaluation sprint (30 minutes): Pick one real ticket from your backlog — a landing section, a script, or a docs page. Run the same prompt in ZCode and your current IDE. Compare diff quality, time to first working run, and how much cleanup you needed. Save the winning prompts in your team docs. That experiment beats any launch-day hype thread. Re-run the test after each major ZCode release — agent defaults change quickly in 2026.
Troubleshooting
Agent cannot see project files
Cause: Workspace opened at a subfolder; ignore rules exclude everything.
Fix: Reopen repository root. Check .gitignore and tool ignore files.
BYOK key rejected
Cause: Wrong endpoint region, expired key, or missing coding scope.
Fix: Regenerate key in provider dashboard. Confirm billing is active.
Generated app will not run
Cause: Missing env vars, wrong Node version, or incomplete install step.
Fix: Read agent's README. Run npm install manually. Compare Node version to engines field.
Output ignores stack conventions
Cause: No project instructions file.
Fix: Add AGENTS.md with stack, package manager, and test command. Reference it in every prompt.
Agent modified production files
Cause: Prompt too broad.
Fix: Restore from git. Re-run with directory scope: Only write under ./sandbox/.
FAQ
What is ZCode from Z.ai?
Does ZCode replace Cursor?
What does BYOK mean in ZCode?
Can ZCode build full websites?
Is ZCode safe for client repositories?
How does ZCode compare to using the GLM API directly?
Related posts
Cursor Rules Explained: Complete .cursor/rules Guide (2026) — standardize AI coding behavior if you split time between Cursor and ZCode
MCP Servers in Cursor: Setup & Security Guide (2026) — tool integrations for Cursor-centric teams
What Is MCP? A Developer's Guide to Model Context Protocol — protocol background for agent tool design