

Last updated on January 5th, 2020 at 07:08 pm
Note: Below given code may or may not work for you please use at you own risk
Genymotion is one of most popular Android Emulator to Run/Debug your android application, and its free to use. Most of android developer use Genymotion at the time of application development. If you don’t want to test your application in your device then this tool is perfect for you.
Official Website: https://www.genymotion.com/
Features
- Camera : Use your laptop webcam as the video source for your Android camera.
- Plugins / Testing tools: Genymotion is compatible with Android SDK tools, Eclipse and Android Studio.
- Battery: Test your app with various charge levels and see how it handles those use cases.
- Browser: Test your website in various Android browsers: Webkit for Android, Firefox for Android and many more!
- GPS: Use the GPS widget to easily develop and test your geolocation-based apps.
- Perfectly adapted: Genymotion works on Linux, Windows, Mac OS X.
and many other feature.
Requirements
- OpenGL 2.0 capable graphic card, with an up-to-date driver
- VT-x or AMD-V capable CPU enabled in BIOS settings
- At least 2GB of RAM memory
Please follow this link to read all requirements
Installation
Now follow below steps to install and configure Genymotion on your Ubuntu.
Step 1. Download Genymotion from official website.
Step 2. Open terminal (ctrl+alt+t) and type below command to install virtualbox
sudo apt-get install virtualbox
Step 3. Now go to location where you downloaded Genymotion and run below command
chmod +x genymotion-2.2.2_x64.bin
and after this
./genymotion-2.2.2_x64.bin
now your Genymotion is installed go to directory where you install or search for Genymotion as shown in image and run to complete setup.

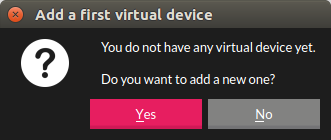
Step 4. Open Genymotion and create virtual device first
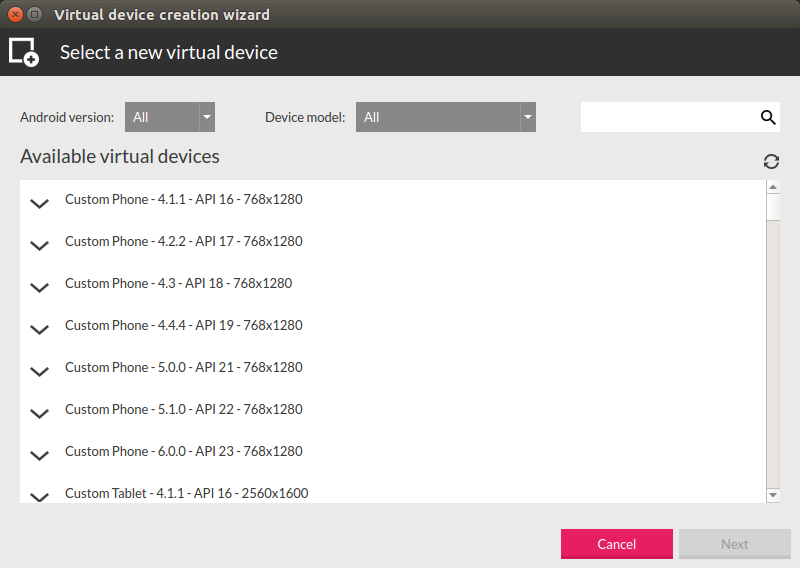
Step 5. Select Android virtual device available to install from list
Step 6. Install virtual device you want
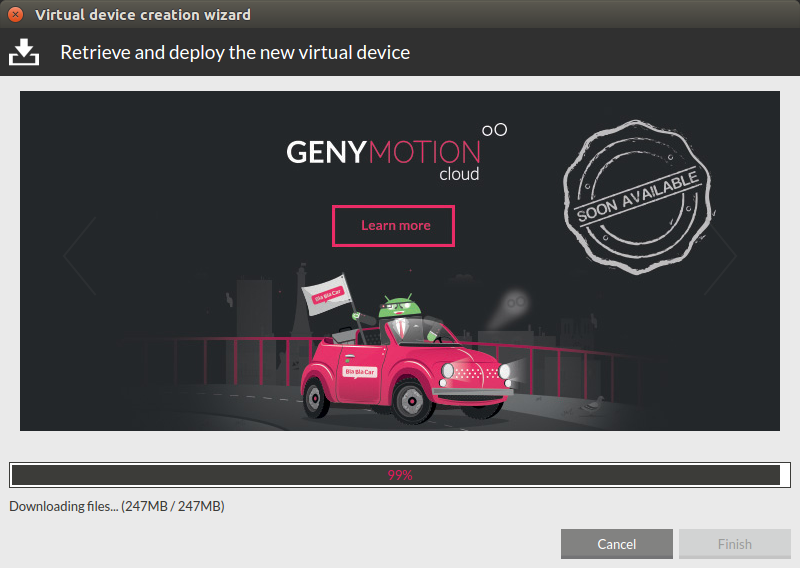
Now once download is complete you can start your on click on start button
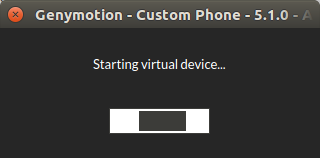
Step 7. If you get any Intel virtualization technology(VT) error on starting virtual device then restart your system and go to BIOS setting and look for Intel Virtualization Technology (also known as Intel VT) or AMD-V depending on the brand of the processor enable this and save and start your machine and try run your virtual device again, if everything go right then you see your Android Screen.
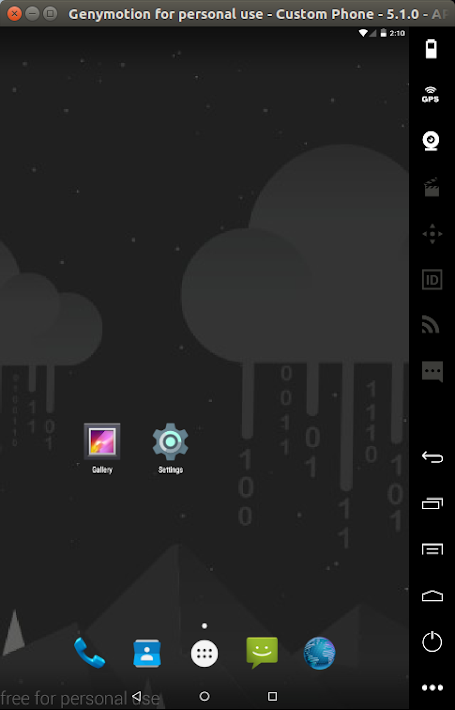
Now you are ready to run your app on Virtual Device 🙂 .